Editing Graphical Content


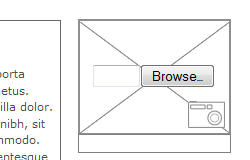
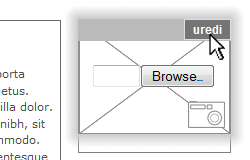
Some page templates contain frames for visual/graphical elements (images), where inserting images is very simple. The Editor automatically resizes images inserted into such space to the predetermined width, which depends on the selected template.

  1. Once you have opened the menu item that contains a frame intended for graphical elements, click on the EDIT button.
  2. Place the mouse cursor over the graphical element frame and click on the EDIT button that the appears in the frame. A graphical element settings pop-up window will open.
  3. Click on the BROWSE... button to find and select the image on your hard drive you wish to insert. If you wish, you can also choose an image already on the Server.
  4. If you wish, you may enter ALT TEXT or POP-UP TEXT. ALT TEXT is useful for search engine optimisation and and for the tools for the bind and visually impaired. POP-UP TEXT appears in the website editor when you run the mouse cursor over the image.
  5. You may assign a link to the image. The default setting is a popup window containing a larger image, but you may also disable the link or set a link to another website.
  6. Confrm the settings by clicking on the OK button.
  7. The system will resize the the image to the allocated width (depending on the template).


The criteria for the images to be published on a website:
  • Supported image formats .jpg and .gif
  • The images must use the RGB colour codes
  • We recommend that you compress the images by using one of the image processing software programmes so that their size does not exceed 1024 x 768 px.